Photo book delivery time max. 7 days Photo book delivery time max. 7 days

Step 1: Choose your photo book type
- Flexible cover with your own photo
- Lightly thickened pages (glued back-to-back)
- Up to 50 pages
- Includes a logo (not white label)
- Available sizes: 15×15 cm, 15×20 cm, 20×20 cm, 20×30 cm, 30×20 cm
Premium Hardcover Photo Book
- Durable hard cover
- Choose between thick or standard pages
- Up to 70 thick pages or 100 standard pages
- High-end finish with lay-flat binding
- Available sizes: 15×15 cm, 15×20 cm, 20×20 cm, 20×30 cm, 30×20 cm, 25×25 cm, 30×30 cm, 30×45 cm
Professional Photo Book
- Handcrafted cover made by our bookbinders
- Choice of premium materials: leather, linen or acrylic
- Padded cover with linen endpapers
- Extra thick pages with 1 mm museum board
- Up to 70 pages
- Available sizes: 20×20 cm, 25×25 cm, 30×30 cm, 30×40 cm
Tip: Create a separate folder with the photos you want to use. This helps keep things organized and speeds up the design process.
Step 2: Set your preferences
- Orientation: Square, Landscape, or Portrait
- Size
- Paper type
- Thick or standard pages (if applicable)
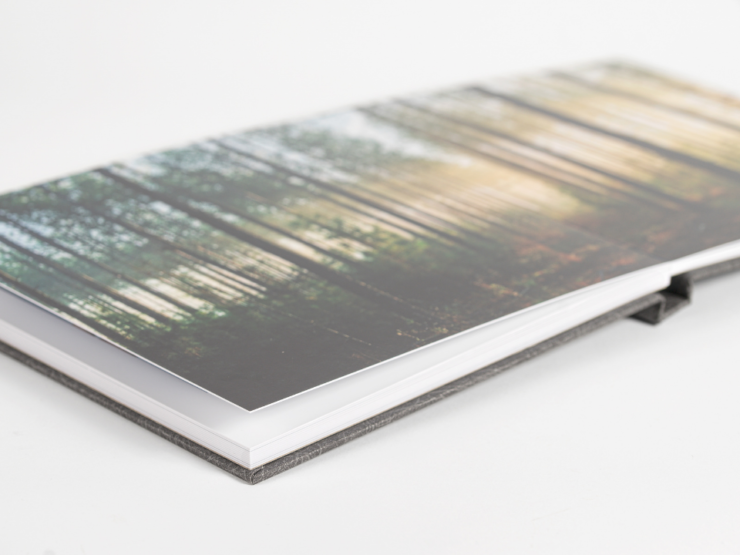
- Cover type and material
- Image optimization (enabled by default)
Image optimization: Our AI-based enhancement improves print quality automatically. We recommend disabling this only if you’ve edited your images on a calibrated screen.
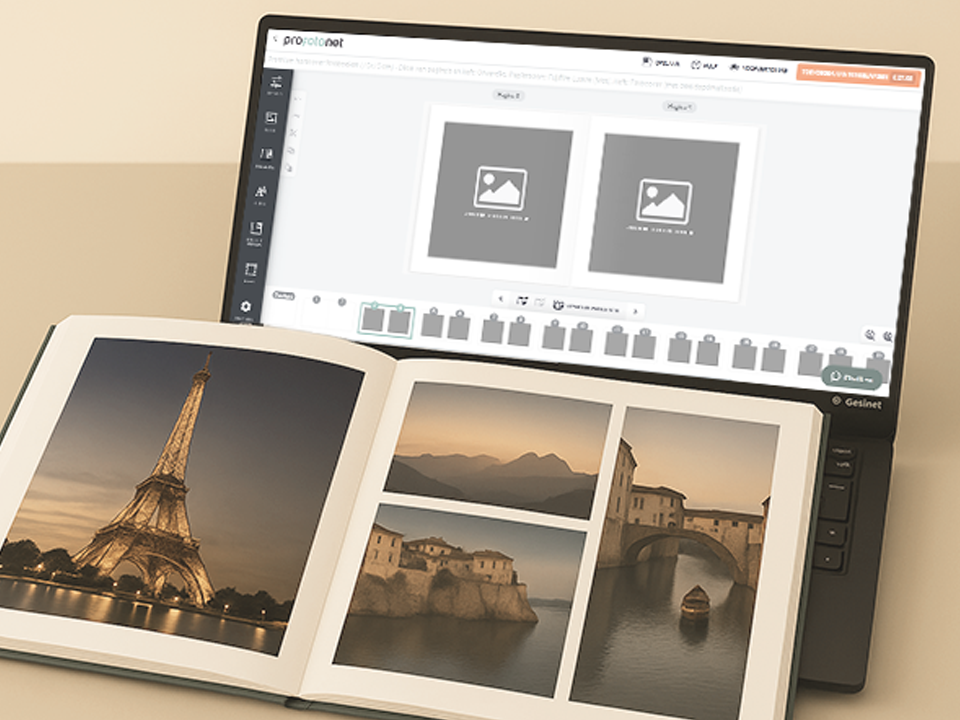
You can also use a ready-made template to get started faster.
Step 3: Start designing
- Name your project
- The editor will launch automatically
Upload your photos:
- Click the orange button to upload images
- Choose:
- Automatic placement: Photos are placed randomly
- Manual placement: You decide the layout for each page
Step 4: Design your pages
- Select a page and click Layout in the left menu
- Choose how many photos you want per page or spread
- Try different styles using the Shuffle Layout button (top right)
Step 5: Adjust your photos
- Click on a photo to select it or drag a new one into the frame
- Use Edit to:
- Resize
- Rotate
- Use Bring to Front to adjust layering
Step 6: Add text
- Click Text in the left menu
- Add a text box and type your message (e.g. captions, dates, quotes)
- Customize font, size, and color
Step 7: Backgrounds & borders
- Click Background to select a color or image
- Add photo borders using the Borders option
Experiment with styles to give your photo book a personal touch.
Step 8: Manage pages
- Click Rearrange to move pages around
- Double-click a page to edit it again
- Click + to add extra pages
Step 9: Preview & order
- Click Preview to view your entire book
- Check that:
- All photos are properly placed
- Text is readable and accurate
- Happy with the result?
- Add the book to your cart
- Complete checkout and payment