Photo book delivery time max. 7 days Photo book delivery time max. 7 days


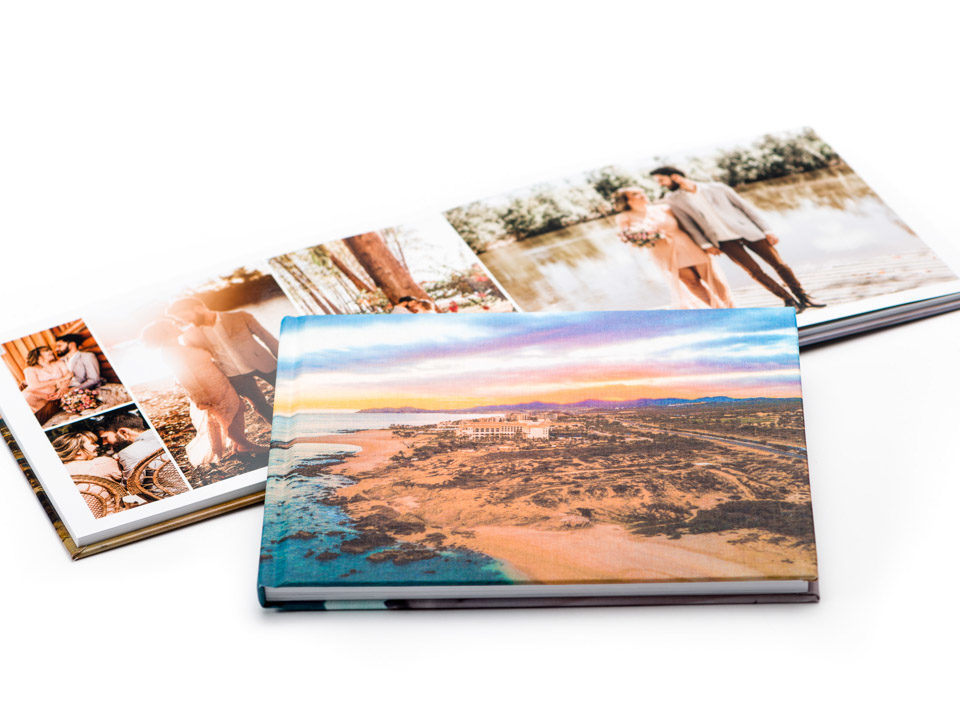
How to add a background to a Premium photo book
A photo book is given an added dimension with an appropriate background. This can be a homogenous background, a standard background from our software, or your own photo! Make sure your background isn’t too busy, as that will detract attention from what the photo book is all about.
A homogenous background colour
A homogenous background colour can be configured in the Inspector menu (right) under the last tab. Here you can select the colour of your left and right pages from the colour palette. Have you got an RGB colour code you wish to use? If so, click on Other in the colour palette and select Define customised colours. Here you can enter the RGB values, and save the colour.
A standard background
In the library at the bottom of the window you’ll find the Backgrounds tab. Here you’ll see a selection of backgrounds for a range of designs, such as, baby, travel and wedding photography. Drag to the left or right page to use on a single page. If you want to spread the background over two pages, drag it to the middle of the spread and release.
Your own background
Would you rather have one of your own photos as the background? If so, drag the photo into the photo book and select Fit > Scale to Page using the right mouse button, or select Scale to Spread. Next, select Classify > Place behind to place the photo as the background.
Tip: in the Inspector menu on the right you can adjust the photo’s density to make the whole thing less busy.
Also interesting...

