Photo book delivery time max. 7 days Photo book delivery time max. 7 days


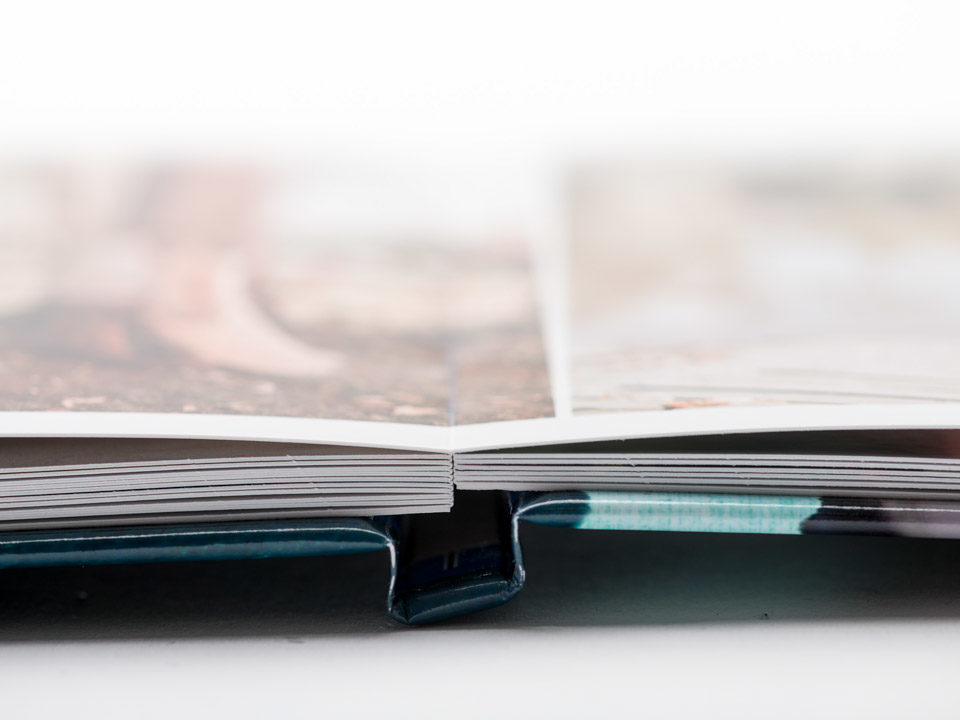
At the edge of the page design you’ll see two lines: one blue and one red. The blue line marks the page’s outer edge. The red line marks our trim line. Everything between the red and blue lines (in the red area) disappears during page trimming. Remember to take this into account when you’re designing.
Positioning photos with a margin
Do you want spacing between your photos and the page edge? If so, make sure you keep approx. half a centimetre within the red line.
Positioning photos with page bleed
Do you want your photo to bleed off the page, for instance, a background? If so, have your photo meet the blue line, so taking up the entire red area.
Alignment
Alignment means the photos being precisely in line, above or alongside one another. Resulting in a uniform, sleek look&feel. There are different ways to achieve alignment:
Using the Inspector. This is the most precise method. Click on the ruler, in the top right. Here you can enter the x & y coordinates for the horizontal and vertical distance from the upper left corner.
Using help lines– Help lines can also facilitate alignment. First, make rulers visible via Image > Show rulers. Click on the ruler, and drag a help line to the right spot in the photo book. Select Paste Position in the Image > Help lines menu, to render the photos magnetic. In this way, when you drag the frames, the photos stay nicely pasted to the help line.
Using a raster – Make a raster visible via Image > Raster > Show. Select Paste Position to render the photos magnetic. In this way, when you drag the frames, the photos stay nicely pasted to the help line.
Centring Select your photo, and via the right mouse button, click on Align > Align to vertical or horizontal centring of the page Do you want to align two or more photos with one another, at the top, side or bottom? If so, select all the photos using the Shift key. Using the right mouse button, click on Align and select the edge you wish to align the photos by.
Also interesting...


